![RESILITE_TheMatCompany_FullColor.png]](https://info.resilite.com/hs-fs/hubfs/RESILITE_TheMatCompany_FullColor.png?height=50&name=RESILITE_TheMatCompany_FullColor.png)
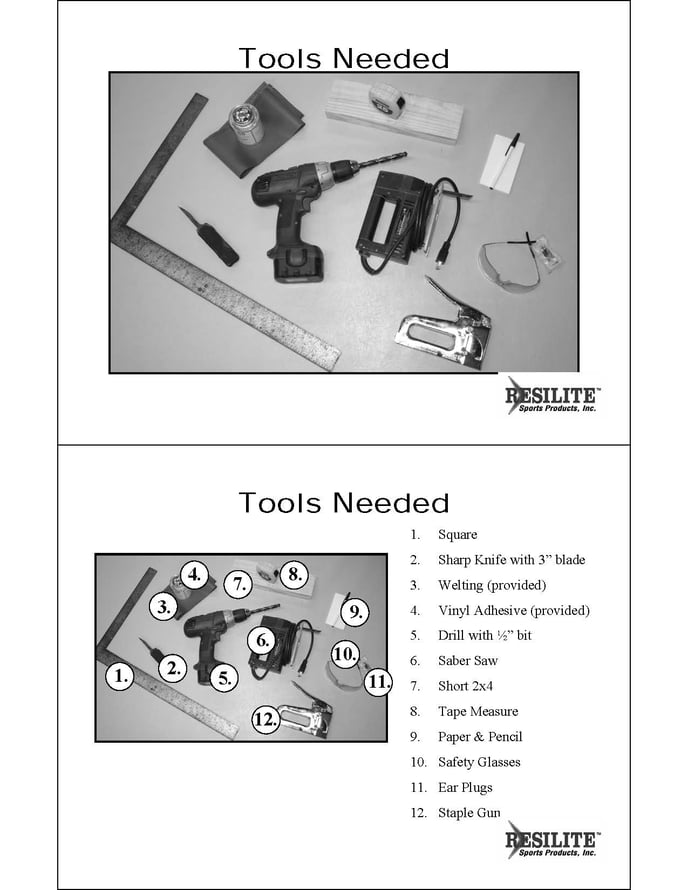
Tools Needed:
- Square
- Sharp Knife with 3” blade
- Welting
- Vinyl Adhesive
- Drill with ½” bit
- Saber Saw
- Short 2x4
- Tape Measure
- Paper & Pencil
- Safety Glasses
- Ear Plugs
- Staple Gun
Step-by-Step Instructions:
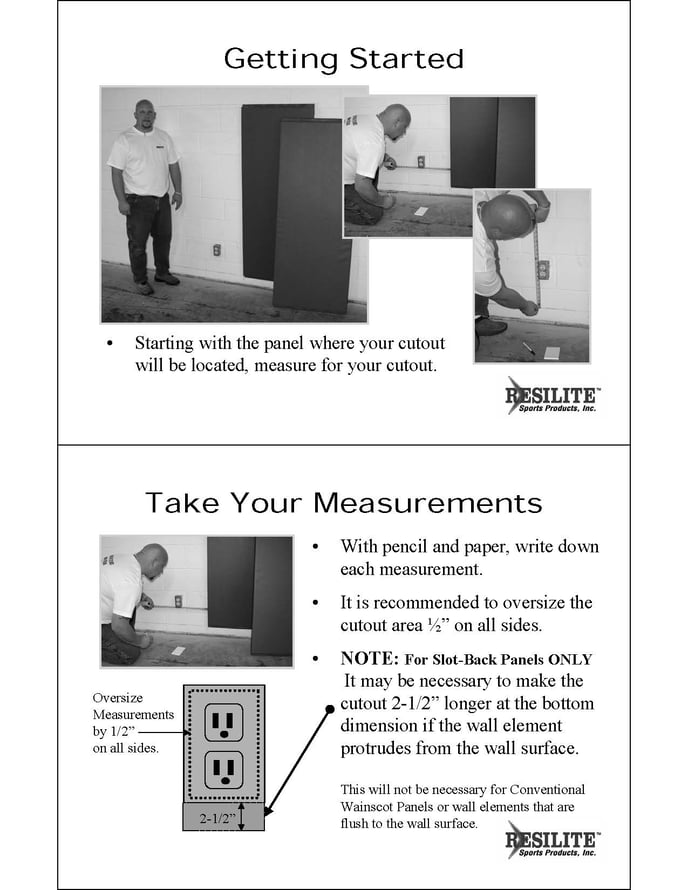
- Measure for Cutout: Oversize the measurements by ½” on all sides, noting them down.
- Mark the Panel: Transfer measurements to the back of the panel.
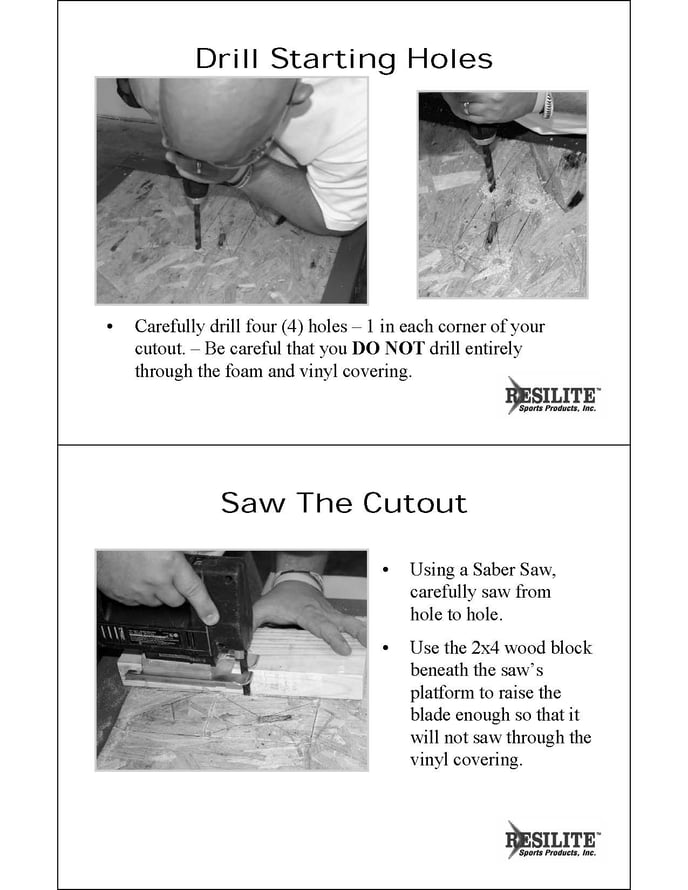
- Drill Starting Holes: Drill four holes at each corner of the cutout.
- Saw the Cutout: Use a Saber Saw with a 2x4 block to avoid cutting through the vinyl.
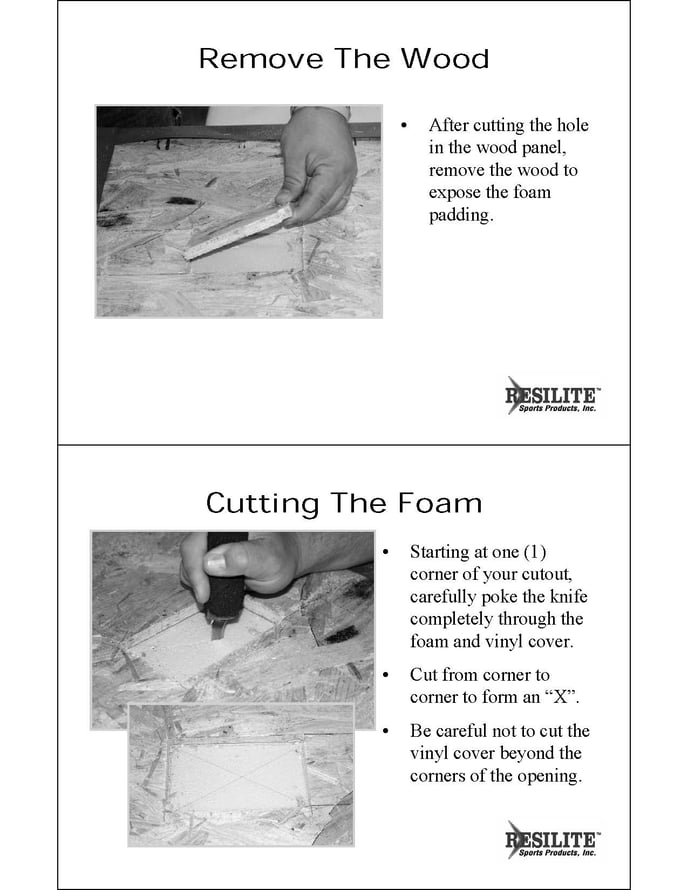
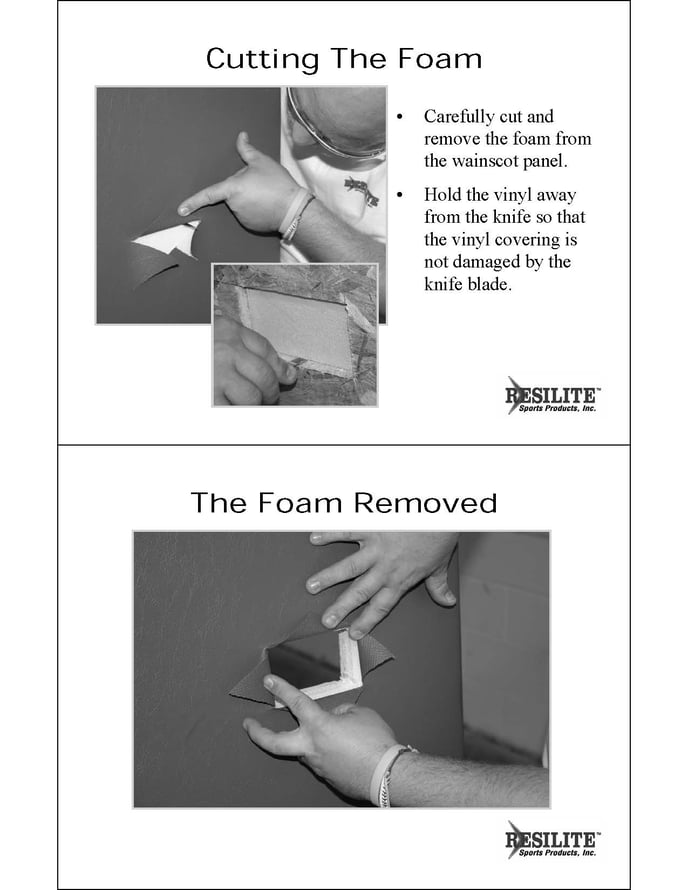
- Remove Wood and Cut Foam: Remove the wood and cut the foam in an “X” pattern.
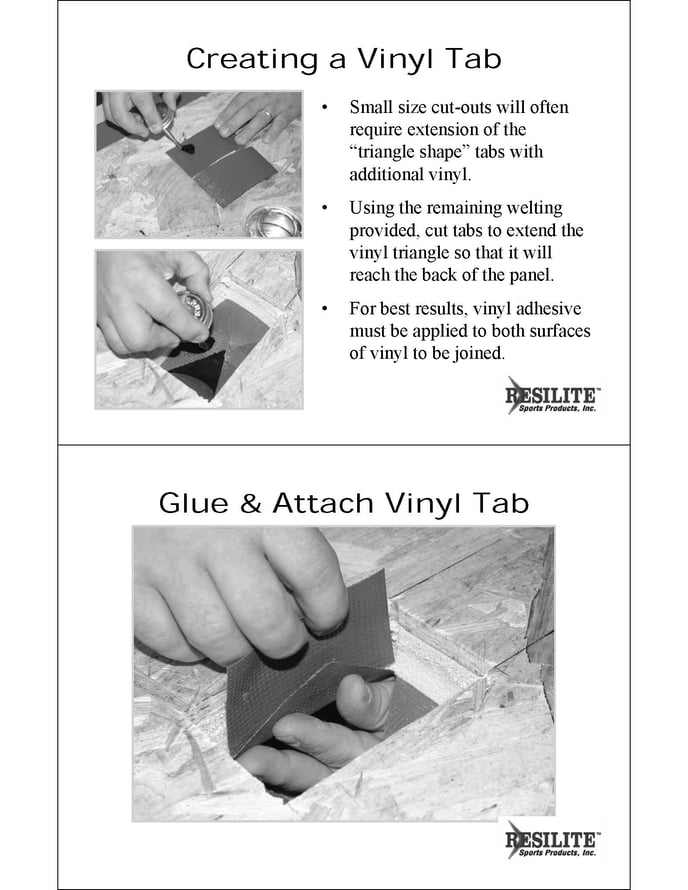
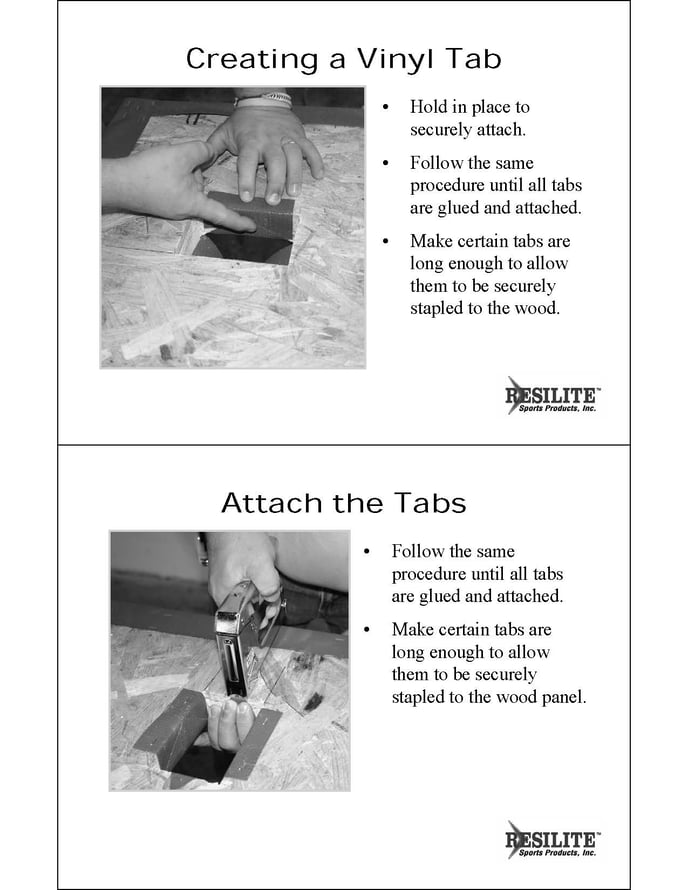
- Prepare and Attach Vinyl Tabs: Extend vinyl tabs if needed and glue them.
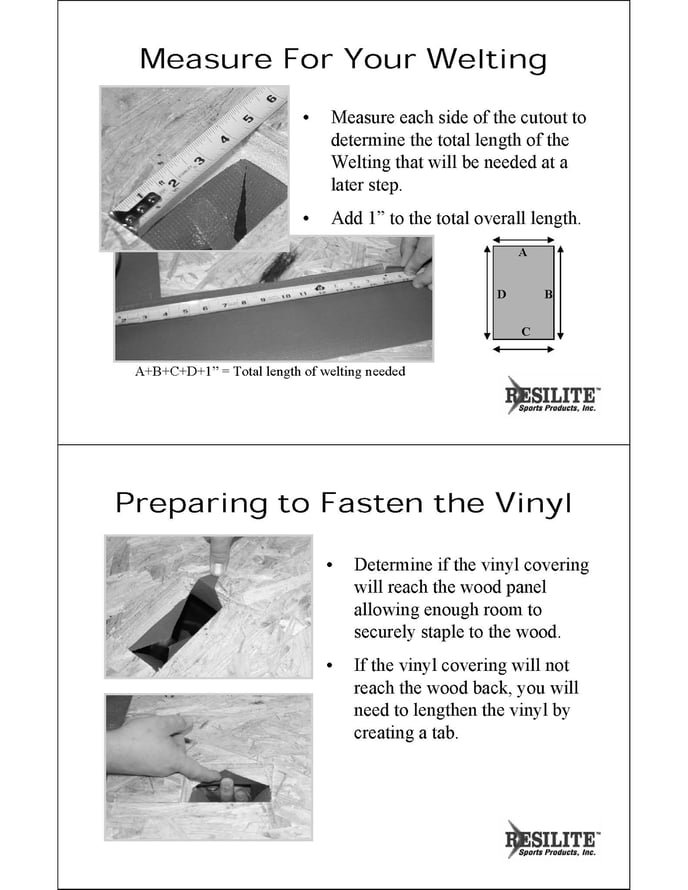
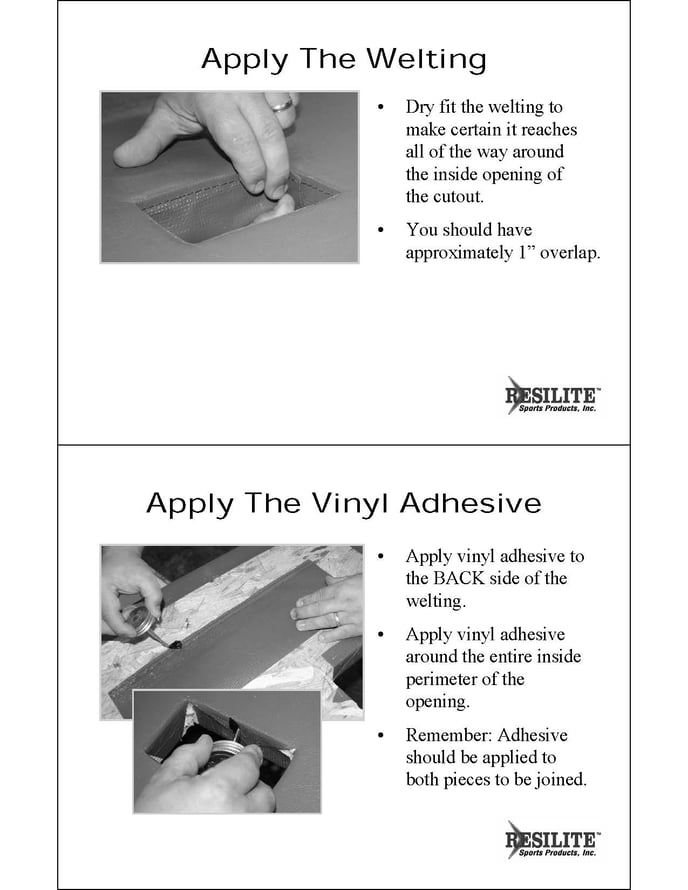
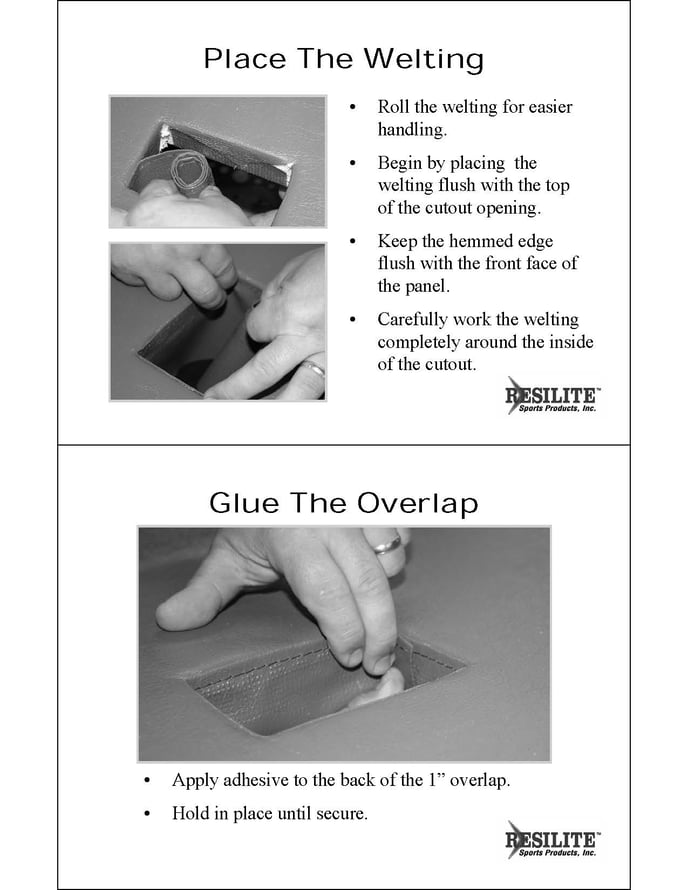
- Apply Welting: Measure welting, apply adhesive, and secure it around the cutout.
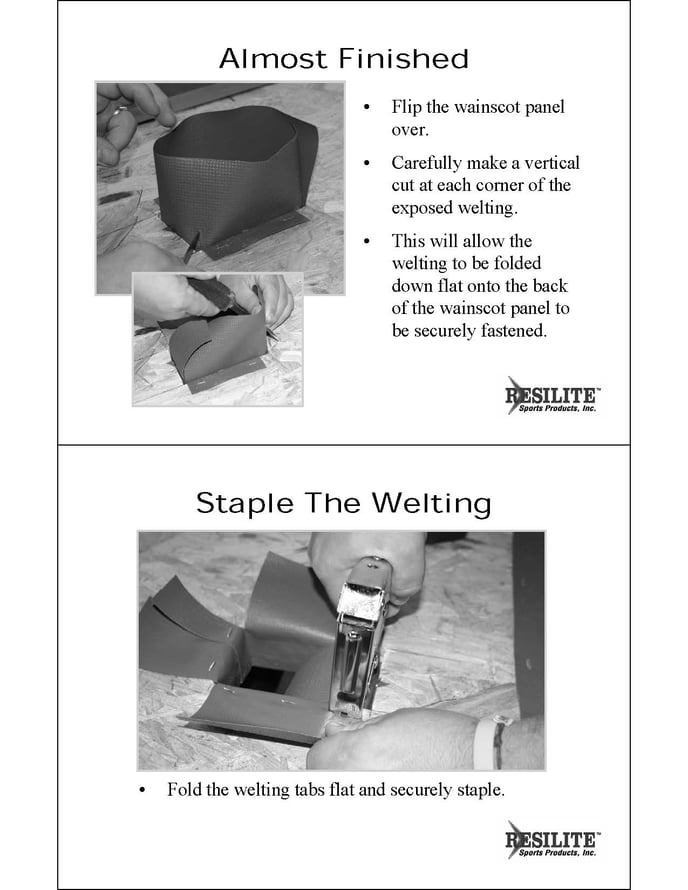
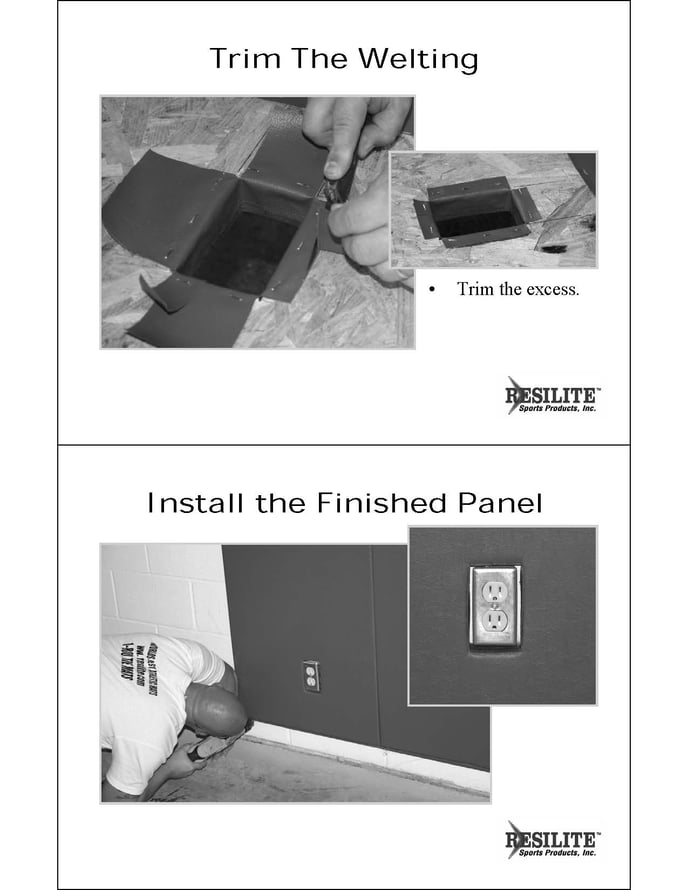
- Final Steps: Staple the welting, trim excess, and install the finished panel.
Take Your Measurements